
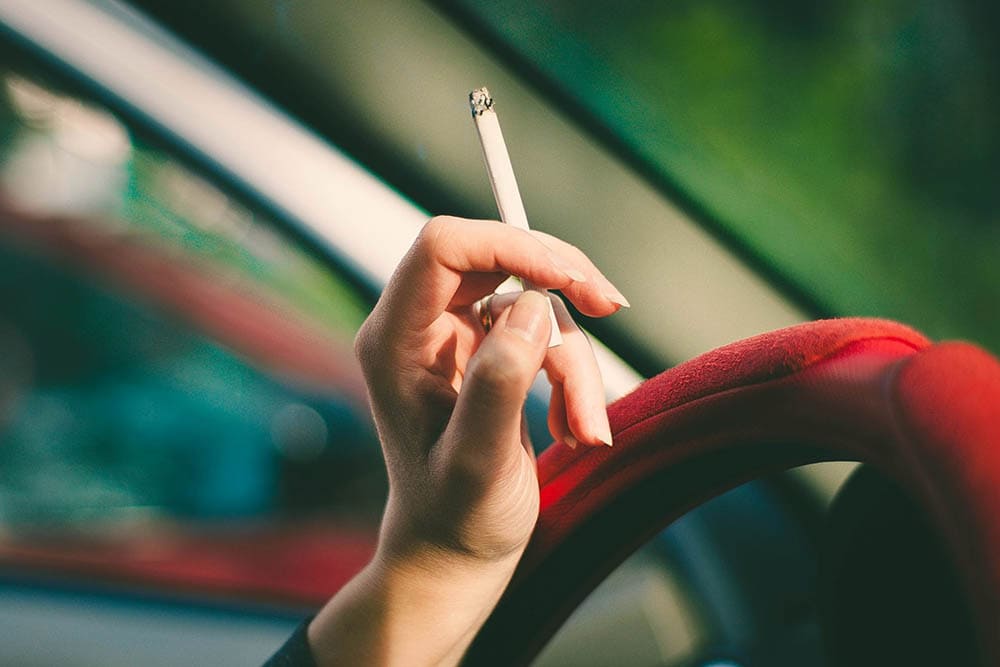
The tip of a cigarette can reach temperatures as high as 900°C, so it’s hardly surprising that they can cause serious damage to the fabric, vinyl, and leather interior of a car. Cigarette burns are more common in seats, but they can also occur in the ceiling of a car, especially when driving over a bumpy road with a lit cigarette in your mouth. These ceiling burns most often occur just above the window and as a result of catching the cigarette tip when trying to flick ash out of the window.
For what is usually a small area of damage, such a burn can really stand out and as well as being an eyesore, it will deplete the resale value of the car and may become worse over time if it is left as a small burn hole. A car detailer may be able to fix the headliner, or you can buy a replacement and glue it in place, but these alternatives can add up to several hundred dollars or more. Fashioning your own repairs could save you the money and hassle, while still leaving you with a fully repaired liner that looks as good as new.
Whether you’ve bought a used car that has a burn in the ceiling, you’ve leant your car to a smoker who is responsible for the damage, or you’ve done it yourself, try the following steps to fix the ugly-looking burn mark in your car.

Car Headliners
The car headliner is a combination of layers that are attached to the ceiling of the car. Not only are they used to cover up the bare metal and give a better aesthetic, but their use of foam and additional materials also helps to reduce noise and improve heat retention within the car. The outer layer of the headliner is made from a composite fabric and is used to contain a foam filler.

Headliner Burns
Burn marks in the ceiling rarely burn right through the liner because this would require that the cigarette end be held against the liner for a few seconds. More often, it is just the outer layer of the liner itself that is burned. It’s still ugly, but it means that it shouldn’t be necessarily to replace the whole thing.
Fixing Cigarette Burns In the Car Ceiling
Be aware that most home repairs are going to leave evidence. You may be able to see a seam where a homemade patch meets the existing fabric, for example, or the patch material may not exactly match that of the headliner. In either case, it will look better than a scorched burn mark.
- Cloth
- Craft knife
- Fabric adhesive
- Patch
- Scissors
If you’ve determined that the foam is undamaged, usually indicated by the fact that you can’t see any of the foam protruding from the burn area, follow these steps to try and fashion a repair for yourself.
How To Fix Cigarette Burns In A Car Ceiling (4 Steps)
1. Source A Patch
Before you start, you will want to source the material you will use as a patch. Ideally, this should be the same material as is in your car. You can try contacting the manufacturer or dealer that you got the car from or even go to a wrecker or scrap yard and see if they have any cars of the same make and model. Alternatively, you may have to find something that looks similar but is not an exact match.
You can use pens and needles to add any texture or pattern to the fabric and get it as close as possible.
The material shouldn’t be expensive, and it is worth buying more than you need, especially if you do find a very close match. You never know when you might need to make another patch, and the material might prove more difficult to find next time around.
2. Clean and Clear the Area
Use warm water and cloth to clean the area. You can try a sensitive detergent, which might get rid of some of the staining around the area, but it won’t be able to fix the hole or scorch mark. Cut off any pieces of dangling material and try to make sure the hole is as neat as possible. It will make it easier to apply the patch and it means that there will be fewer bubbles and creases so the repair job will not stand out as easily.
3. Apply Solvent
Let the area dry once you’ve cleaned it, and then use a fabric glue and apply it around the burn area. Try not to stray too far from the burn hole itself but cover any scorch marks that you have been unable to remove and try to create a square or rectangular shape because it will be easier to match the patch to an area like this.
4. Attach the Patch
Ensure that the fabric is cut to the same size as the area you have placed adhesive and push the patch firmly against the glue. Different glues have different drying times, but you will usually have to hold it in place for at least three minutes before it at least starts to take.

Conclusion
Burn marks are a nightmare on any surface, but they are highly visible in the ceiling of a car. Hopefully, the damage is only skin deep, otherwise you might have to replace the whole lining to completely fix the problem.
Otherwise, clean the area, use a decent fabric adhesive, and affix a homemade patch to cover the hole and the burned areas around the offending site. Let everything dry fully, according to the glue manufacturer guidelines, and then give the area a wipe with a damp cloth to remove any stray dirt or debris and to try and ensure that the patch matches the faded look of the car headliner.
Featured Image Credit: Антон Воробьев, Unsplash
Contents